Creating an event on Ticket24/7 is one of the easiest and most efficient processes out there. Unlike other platforms that require navigating through complicated forms and multiple steps, Ticket24/7 simplifies the process with just a few straightforward steps. Whether you’re a first-time seller or a seasoned pro, our platform is designed to make event creation fast and hassle-free. Here’s how it works:
Step 1: Get Started with Just a Few Clicks
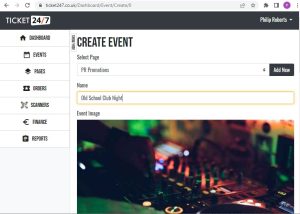
- Access the Seller Dashboard: Log into your Ticket24/7 account and you will be directed to your seller dashboard where you can access up to the minute sales data.
- Add a New Event: Simply click “Add New” under the “Events” tab to start. No need to navigate through a maze of options.
- Enter Event Details: Add a catchy event title and upload a high-quality image (make sure you have rights to use the image). Our platform is designed to make this process as intuitive as possible, so you can focus on the details that matter.
Step 2: Specify the Venue
- Find Your Venue Easily: If your venue is already listed, simply type its name in the “Venue Search” box. No need to search through long lists—Ticket24/7 shows suggestions as you type.
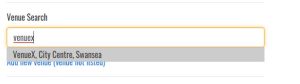
- Add a New Venue in Seconds: Don’t see your venue? No problem! Just click “Add New Venue,” fill in the details, and save it for future use.
Step 3: Enter Event Descriptions
- Add Key Event Details: In the “Description” box, include all important information about your event. While you don’t need to turn this into a short story, the more detail you provide, the fewer questions your customers will have. As a minimum, we recommend including artist or performer details and a brief outline of what attendees can expect—special performances, activities, or unique aspects that make your event stand out.
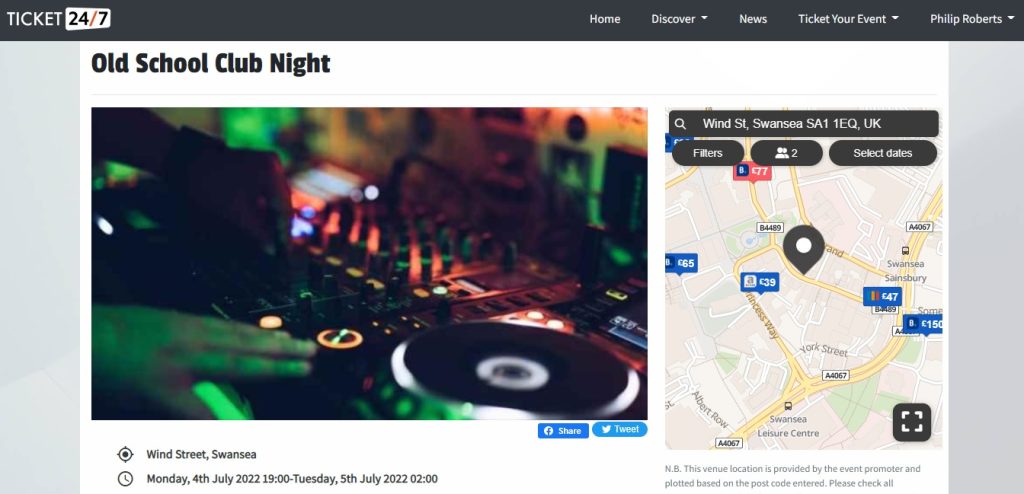
- Short Description for SEO: With Ticket24/7, you can also enter a concise, SEO-friendly short description. This is crucial for deciding what appears in Google search results and when your event link is shared on social media, such as Facebook. For example, you might use something like:
“Old School Club Night at VenueX, Swansea, 4th July 2022.”
A well-crafted short description not only helps improve search visibility but also ensures potential attendees get a quick, enticing summary of the event when they see your link online.
This step ensures your attendees know exactly what to expect, and also helps your event stand out in search results and social media shares!
Step 4: Save and Publish
- Save and Preview Your Event: Once you’ve added all your details, click “Create Event.” You can preview everything before going live to ensure it’s just right.
- Publish with One Click: When you’re ready, hit “Publish” to make your event live. Your event is now on Ticket24/7, visible to a wide audience. You can track ticket sales, monitor attendance, and manage event details with just a few clicks.
Additional Tips
- Promote Your Event: Once your event is live, you can share it across social media and use Ticket24/7’s built-in promotional tools to boost visibility and drive ticket sales.
- Manage Your Event with Ease: Track sales, manage ticketing, and scan tickets at the venue with our easy-to-use mobile app.
Creating and managing events with Ticket24/7 is fast, simple, and supported by a team dedicated to helping you succeed. If you’re migrating from another platform, don’t worry! We’re here to help—just get in touch, and we can assist with copying over any existing event listings to Ticket24/7, making your transition seamless.
Now that your event is ready to go, it’s time to start selling tickets! In the next section, we’ll guide you through the process of adding tickets to your event and setting pricing options.