Entry and security at your venue has never been easier with the Ticket24/7 scanning app! In just 2 simple steps you can scrap those paper guest lists that are time-consuming and unreliable, and start using our ticket scanner for a smooth entry system. No expensive ticket scanning equipment is required, unlike with other ticket providers, you can use any mobile device that has a camera and internet connection!
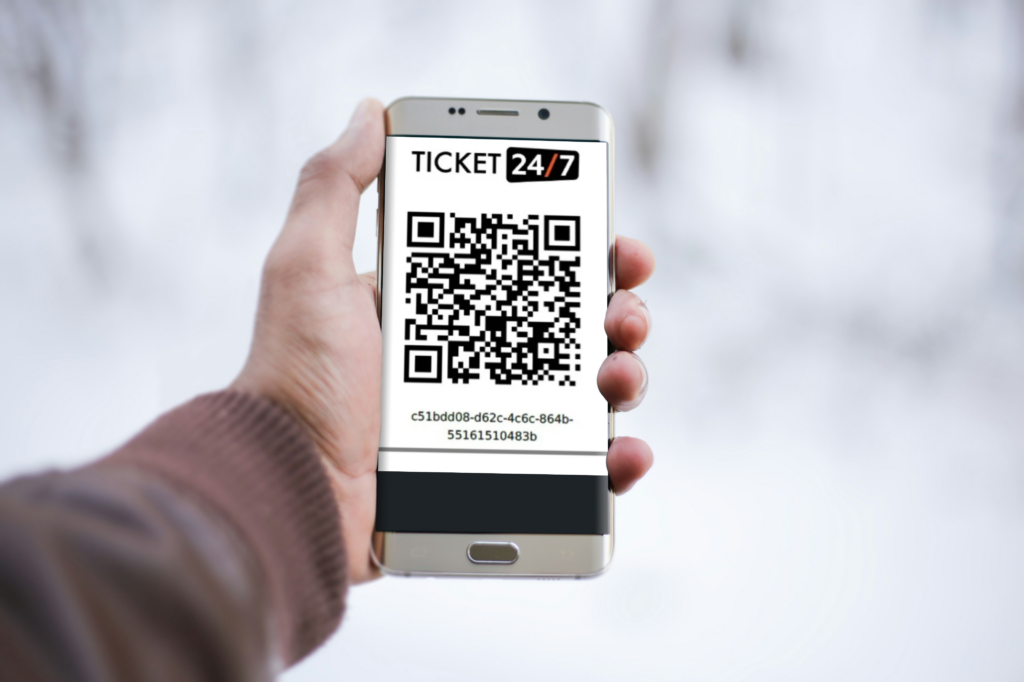
Each ticket sold through us will have a unique 2d barcode (QR code) that can be scanned using the app. As well as confirming that the ticket is valid, the scanning process will check to make sure it is not a duplicate. Ticket holders can present their tickets either on their mobile device or as a printout. Both options can be scanned using a normal smartphone/tablet.
Step 1: Activating a new scanning device:
Head over to ‘Scanners’ in the seller dashboard and you will see it asks for an activation code.

Simply browse to https://scan.ticket247.co.uk on the device you want to use as a scanner and the activation code will be displayed.
Once you enter this code and click register the device in the seller dashboard, you can then use that device to scan the QR code presented on the tickets.
You will only need to do this once for each new device unless you remove the device from the dashboard.
Step 2: Scanning tickets:
Visit https://scan.ticket247.co.uk on any registered device. You will be presented with a list of upcoming events in chronological order, so the first event is usually the event that is live and you need to manage entry for.

Click on the TICKET ENTRY button to start – this will ask for camera access, make sure you click ‘allow’.
Once the camera has been activated, you can then begin validating tickets by hovering the camera over the QR code section of the ticket.
Scanning tickets works with both printed or electronic versions. The best way to get a scan off a mobile screen is to ask the ticket holder to enlarge the QR code so that it fills the screen, however, this isn’t usually required.
Once a ticket is scanned successfully the entry will be colour-coded on your screen:
- Green – Valid and scanned for the first time
- Orange – Valid but already scanned
- Blue – Ticket not scanned
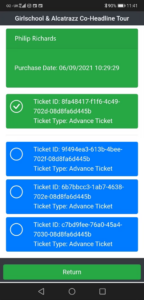
If you scan an order that has one ticket, it will show the ticket in green because it has been scanned and validated. Scan it again and it will show orange because it has already been scanned. This is to help you identify people who may duplicate tickets or give the same ticket to another person. You can click the orange box and it will turn blue, this marks the ticket back as “not scanned”, so next time it is scanned it will be green.
What if I have a group booking?
If there is more than one ticket on the order when you scan one of them, it will show the scanned ticket in green if scanned for the first time (or orange if scanned more than once), but it will also show the status of all the other tickets on the order using the colours listed above. This allows you to click on any other tickets and also mark them as scanned. Ideal if you have a party of 2 or more turning up who all purchased on the same order. You can use this system to mark all the tickets as scanned without individually scanning them, but you have the choice to scan each one individually if you prefer.