Unlike other ticket sales platforms, with Ticket24/7 you can start selling tickets to your events in just 5 simple steps, and completely free of charge. Find out how with this handy quick start guide!
Step 1: Create an account
When you enter the Ticket24/7 website homepage, under the search bar you will see ‘add your event’. Click here to get started. This will take you to our ‘sell with us’ page. Scroll down and click ‘get started’ Once that’s done, you’ll be directed to create an account or log in.
Fill out the necessary information for your login, or simply login with your Facebook account.
Step 2: Create your Selling Page
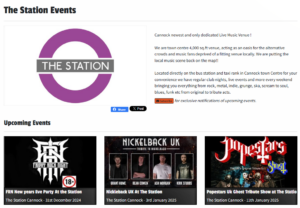
Your seller’s Page will act like a free mini website displaying all your completed and upcoming events. It’s a handy link to add to your social media accounts and promotional material, making it easy for your customers to find and buy tickets! Your selling Page should include who you are (a venue, events management company, or independent artist) and some general details about your venue or the type of events you organise. You can even add more Pages if needed, for example, if you are a promoter for two venues, you can add a Page for each, or if you are a venue running different types of events, you may like to advertise them separately. Don’t forget to add a photo to your Page to make it stand out!
Step 3: Find your way around the Seller Dashboard
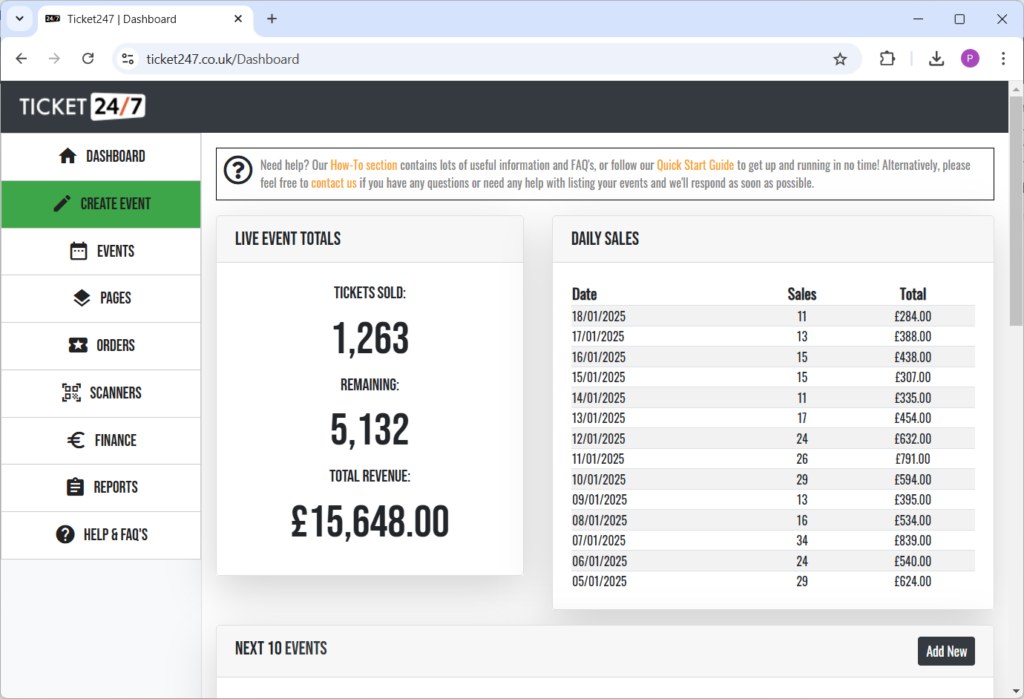
Once logged in, you will be presented with the seller Dashboard, which contains live information about sales and orders and allows you to manage all aspects of your events and ticket sales. On the left hand side of the page, there is a drop-down menu bar with all the different components of the Dashboard; ‘Events’, ‘Pages’, ‘Orders’, ‘Scanners’, ‘Finance’, and ‘Reports’.
Step 4: Add your Event
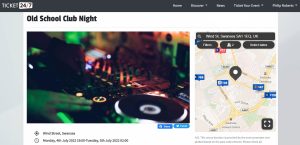
To add the event itself, click ‘events’ in the seller dashboard menu and then ‘add event’. Here you can enter details about the event itself, including a title, location, date and description. Once ‘create event’ has been clicked, one or more ticket types can be created, coupons/discount codes can be added, and a date/time can be specified for announcing the event to your Ticket24/7 Page followers. Once you are happy with the details entered, clicking the ‘Publish’ button will make the event public and your tickets will be available for purchase on Ticket24/7!
Step 5: Link your bank account
Last but not least, you’ll need to add your account details so that we can transfer your ticket funds. On the menu bar, click ‘Finance’ and then follow the on screen prompts. We use Stripe to take card payments from ticket buyers and to manage payouts to sellers. Payouts are scheduled automatically so you don’t need to do anything. We typically pay out funds for events in the early hours of the morning after completion. If you’re a regular seller and have set up advanced payouts with us, then all available funds will be transferred every Monday morning.
There you have it – you’re now selling tickets online with Ticket24/7!
Need more detailed instructions or some help getting set up? Browse more how-to’s or get in touch via the Support section and we’ll be happy to answer any questions you may have.