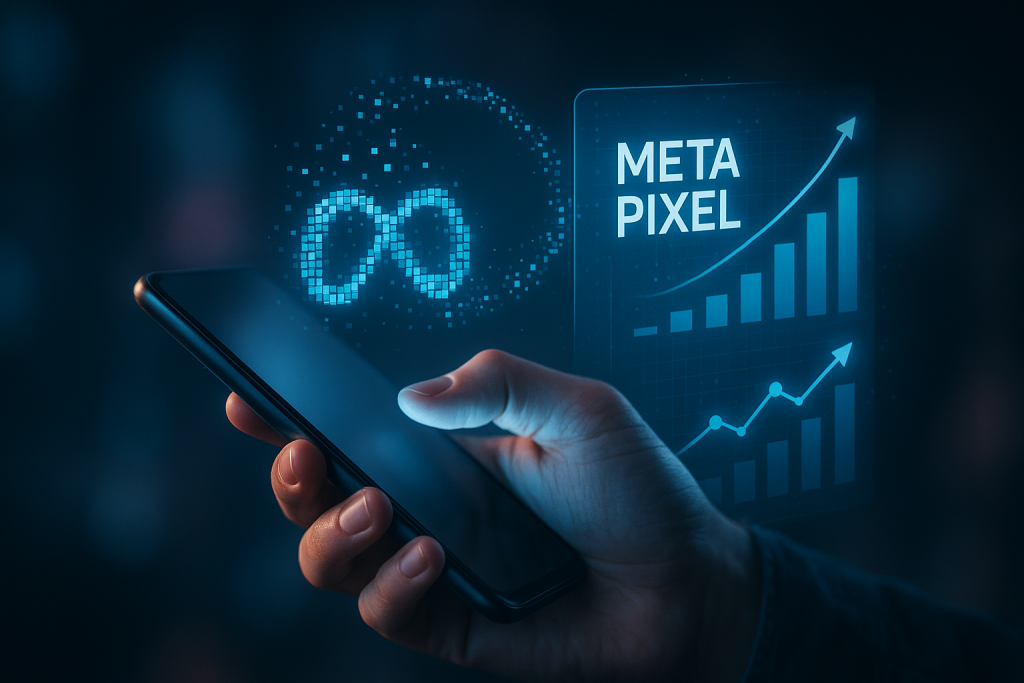
If you’re running ads on Facebook or Instagram, setting up a Meta Pixel is essential for tracking how people interact with your events. Ticket24/7 makes this easier than ever — unlike most other platforms, we support not only Meta Pixel integration but also Facebook’s Conversions API, giving you more accurate tracking and better insights into your ad performance. This means you can see exactly which ads are driving ticket sales, build retargeting audiences, and optimise your campaigns for conversions — all from your Ticket24/7 seller page.
What You’ll Need
You can add Facebook tracking in two ways:
-
Meta Pixel ID (recommended for everyone)
-
Conversions API Token (optional but more accurate – requires a Facebook Business Account)
ℹ️ You only need a Pixel ID to get started. If you have a Business Account and can also generate a Conversions API Token, we recommend using both for the most reliable tracking.
Step 1: Create a Meta Pixel
If you don’t already have a Pixel set up:
-
Go to your Meta Events Manager.
-
Click “Connect Data Sources” and choose Web.
-
Select Meta Pixel and follow the setup prompts.
-
Once created, you’ll be given a Pixel ID – copy this number.
For help, see Meta’s guide to creating a Pixel.
Step 2 (Optional): Generate a Conversions API Token
The Conversions API (CAPI) is a server-side tracking method that ensures Facebook still receives events even if ad blockers or iOS restrictions stop the browser Pixel from firing.
To get a CAPI token:
-
In Events Manager, click into your Pixel.
-
Navigate to Settings.
-
Scroll to the Conversions API section.
-
Click Generate access token and copy the token.
⚠️ You must have a Facebook Business Account to generate a token. This isn’t available for personal accounts or pages only.
More info: Meta’s guide to Conversions API
Step 3: Add Your Pixel to Your Ticket24/7 Page
Once you’ve got your Pixel ID (and optional token):
-
Log in to your Ticket24/7 Seller Dashboard.
-
Go to the Pages section (where you manage your seller landing pages).
-
Click on a page and click Edit
-
Scroll to the Facebook Meta Pixel settings.
-
Paste in your Pixel ID, and your CAPI Token if you have one.
-
Click Save.
That’s it! Your Meta Pixel will now fire when people view your events and buy tickets from that specific page.
✅ You can add different Pixels or tokens for each page if you want to track performance across multiple audiences or campaigns.
What Will Be Tracked?
Once set up, your pixel will automatically track key events like:
-
Page View (when someone visits your page)
-
ViewContent (when someone views an event)
-
AddToCart (when someone adds tickets to their cart)
-
Purchase (when someone completes a ticket order)
This data is passed back to your Ads Manager to help improve targeting, retarget visitors, and optimise for conversions.
Need Help?
If you get stuck or have questions about how to get your Pixel or Token, Facebook offers detailed support via:
And as always, if you need help connecting this in your Ticket24/7 dashboard, drop us a message here.